
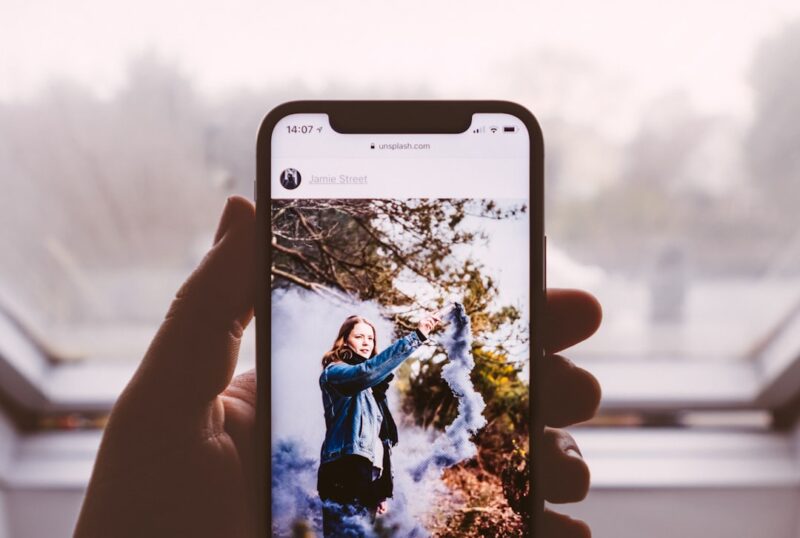
Want sharper, more compelling photos from the phone in your pocket? These 9 practical tips will help you shoot cleaner, brighter, and more expressive images using techniques you can apply right away.
Use Natural Light to Make Subjects Pop
Natural light gives your photos richer color and softer highlights, so look for shade if the sun is harsh or aim for the golden hour right after sunrise or before sunset. Position your subject so light hits at an angle rather than straight on, this creates depth and pleasing shadows.
Backlighting can produce dramatic silhouettes and rim light if you expose for the subject or use fill light from a reflector or a nearby surface. Move a few feet to test how shadows and highlights change, you will see big differences with small adjustments.
Pro Tip: If light is too strong, move your subject into soft shade close to a bright surface to keep even tones without blown highlights.
Keep the Lens Clean for Sharper Results
A quick wipe can fix many mystery blurs, fingerprints and dust often hide fine detail and reduce contrast. Use a microfiber cloth or the corner of a soft tee to gently polish the lens, no sprays necessary.
Clean the case and ports too, stray particles can sit at the edges and affect auto-focus. Make this a habit before important shoots, you will save time retouching later.
Quick Tip: Store a small microfiber cloth where you keep your phone so you can clean the lens between shots without digging for tools.
Frame Strong Shots with Grid Lines
Turn on your camera’s grid to apply the rule of thirds, this helps place horizons and focal points where the eye naturally rests. You do not have to be rigid about it, but aligning key elements improves balance and interest quickly.
Use the grid to level horizons and align architecture, then experiment by placing the subject on different grid intersections for varied impact. Simple alignment fixes avoid awkward cropped compositions later.
Expert Insight: If a composition feels off, try moving the main subject one grid square left or right, small shifts often unlock a stronger image.
Lock Focus and Exposure for Consistency
Tap and hold to lock focus and exposure on most phones, this prevents sudden changes when you recompose or move. Locking is especially useful for backlit scenes or when the camera keeps hunting for the correct exposure.
After locking, slide your finger up or down to fine tune brightness if your camera app allows it. Keep an eye on highlights and shadows, slight exposure shifts will rescue detail without heavy editing.
Insider Tip: If your subject moves, unlock, refocus on the subject, then lock again to maintain consistent sharpness and tone.
Use Portrait Mode and Depth Controls Wisely
Portrait mode simulates a shallow depth of field for subject separation, but it performs best with distance between subject and background and when the subject is well lit. Avoid crowded edges and complex patterns that can confuse the algorithm.
After shooting, adjust the depth or blur level if your phone supports it, this gives you control over how much background separation you want. Subtle blur often looks more natural than maximum blur.
Heads Up: For pets and kids, use burst mode while in portrait to capture natural expressions, then pick the best frame before applying depth edits.
Stabilize Your Phone for Crystal Clear Photos
Shake equals blur, especially in low light. Bracing your arms against your body, using a flat surface, or attaching a small tripod dramatically improves sharpness without extra gear.
If you do not have a tripod, lean against a wall or place the phone on a steady object and use the self-timer to avoid press-induced shake. Slow shutter scenes benefit most from these simple stability tricks.
Worth Knowing: Many phones offer optical image stabilization, but physical support still beats software when you need tack-sharp detail.
Change Angles to Add Drama and Scale
Move around your subject, shoot from low to make objects feel larger, or climb higher to show context and environment. Different angles change how viewers interpret the scene and can reveal story elements you might miss at eye level.
Tilt slightly, crouch, or step back and use zoom sparingly to preserve image quality; sometimes a small shift produces the dramatic composition you want. Try at least three distinct angles before deciding which works best.
Pro Tip: For portrait subjects, kneel slightly below eye level for a flattering perspective that adds presence without distortion.
Edit Fast, Edit Smart on Your Phone
Basic edits often make the biggest improvement: straighten, crop, adjust exposure and boost contrast slightly to make images pop. Start with small adjustments, then fine tune color and sharpening to keep the result natural.
Shoot in RAW if you want more flexibility, then use a mobile editor that supports RAW files to recover highlights and shadows. Create a few favorite presets to speed up your workflow and keep a consistent look across a set of images.
Quick Tip: Save edits as a preset for recurring lighting situations, this will cut editing time and maintain brand consistency for repeat shoots.
Learn Manual or Pro Mode for Full Control
Manual mode lets you control ISO, shutter speed and white balance to handle tricky lighting or creative effects like motion blur. Start by locking white balance to avoid color shifts, then adjust shutter speed for movement and ISO for noise control.
Practice in varied conditions so you know which settings create the look you want, learning a handful of go-to values speeds up decision-making during a shoot. Manual shooting expands creative options beyond automatic presets.
Expert Insight: When shooting action, raise shutter speed and use continuous focus, this combination freezes motion and keeps subjects sharp.
Your Photo Skills, Upgraded
Apply these tips one at a time, practice for a few shoots, and you will notice steady improvement in clarity and composition without buying new gear. Which tip will you try on your next photo walk, and what subject will you shoot to test it?